
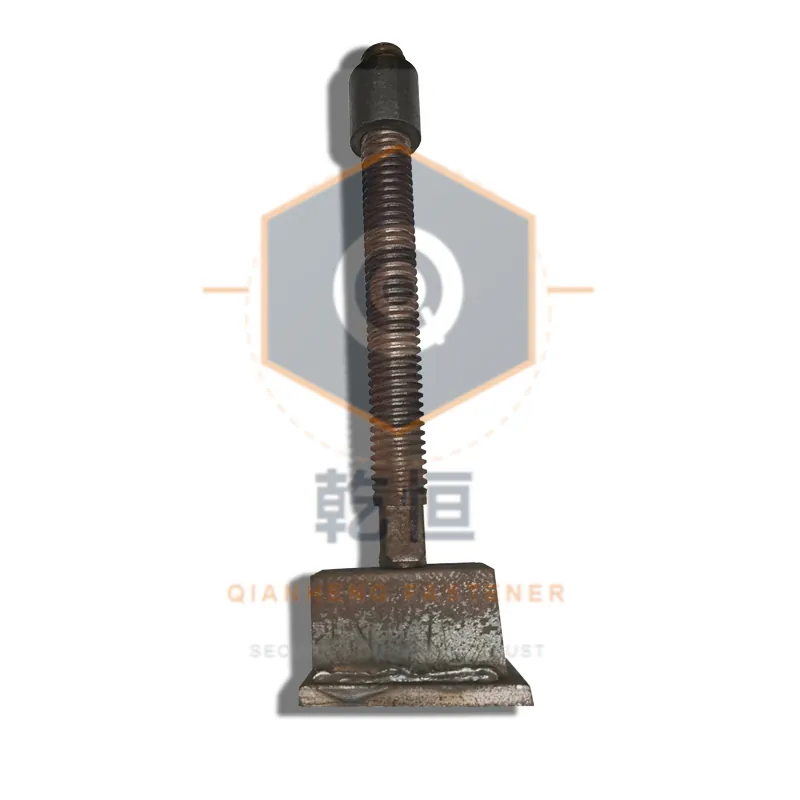
Floor Slab Formwork: Props, Soffit Beams and Table Forms - Choosing a System and Costing It Per Pour
A slab is procured as a shoring system long before any concrete is placed on it. The drawing demonstrates a rectangle of concrete with a thickness note, but the procurement configuration behind that rectangle is a falsework grid of props, primary and secondary beams and soffit boards, all sized from slab thickness and bay size. Most procurement problems on a slab package do not begin with a wrong price. They begin with a soffit that was never actually drawn, so the prop count, the beam spacing and the striking schedule are estimated separately and never reconciled.
This article treats the soffit as the control document. Falsework is the temporary structure that carries the wet concrete and the formwork face until the slab can carry itself. Soffit is the horizontal formwork face under the slab, usually film-faced plywood on secondary beams. Back-prop is a re-shoring prop left in place after the original falsework has been struck. Get the grid correct and the slab BOM writes itself; skip it and the site rents props at a premium while the crew waits.
In brief: the prop count comes from the falsework grid rather than the slab area, the prop class comes from the soffit height, and the peak prop requirement comes from the striking schedule.
Falsework is the temporary structure that supports the wet concrete and formwork until the slab can carry itself. Soffit refers to the horizontal formwork face under the slab, typically made of film-faced plywood on secondary beams. Back-prop means a re-shoring prop left in place after the original falsework has been struck. Prop count is determined by the falsework grid, which is based on slab thickness and bay size. Beam spacing is the distance between primary or secondary beams, influenced by the slab thickness and load requirements.
1. Begin with the slab geometry, not the shoring.
The inputs required to initiate a layout are the slab thickness, the bay dimensions and the soffit height. Thickness establishes the dead load per square metre, which is the largest single term in the prop calculation, and the bay dimensions establish how far a secondary beam can span and therefore how much load each prop collects. The soffit height establishes the prop extension, which is where most shoring mistakes originate.
The temptation is to start with the prop, because that is the line item buyers recognise and the component that appears on rental invoices. The prop count, however, is a consequence of the falsework grid, and that grid is a consequence of the slab thickness and the beam section. Reverse the order and the props land on spacings that the beams cannot bridge, which forces either a closer prop grid or a heavier beam than the job requires.
A slab is normally planned on a rectangular module of roughly 1200 mm by 1200 mm or 600 mm by 1200 mm, because that module matches standard prop lengths, standard beam lengths and standard sheet widths. Where the slab outline is not an exact multiple of the module, the short edge is filled by a trimmed sheet and a shortened beam rather than by stretching the whole grid. Stretching the grid breaks the prop alignment on every adjacent bay, and each bay then becomes a unique layout instead of a repeating one.
2. Three slab systems and when each one pays.
There are three ways to buy a slab soffit, and the choice is an economics decision rather than a technical one. A timber soffit on adjustable props builds the grid fresh at every bay from standard components, and a steel table form arrives as a prefabricated unit that is struck, moved and reset as one assembly. A flying deck is a self-propelled deck that is lowered from a completed slab and moved out to the subsequent bay by crane.
The timber soffit is the flexible option and always wins the first pour, because the components are cheap, individually replaceable and available in every market. It additionally carries the greatest labour content, since every bay is assembled and stripped beam by beam. The table form reverses that balance: it is a capital purchase, but it converts a two-shift strip and reset into a single crane cycle, which is why it appears on repetitive residential plates and identical floor decks.
The flying deck belongs to high-rise work where the slab area per cycle is large enough to amortise a complex mechanism. Our article on high-rise and bridge tie rod selection covers the climbing side of that envelope, where the slab and the wall systems share the identical cycle. The procurement rule is simple: buy the flexible system for irregular geometry, buy the table form for a repeating plate, and buy neither for a single slab.
3. Props and frames: rated load falls as the extension grows.
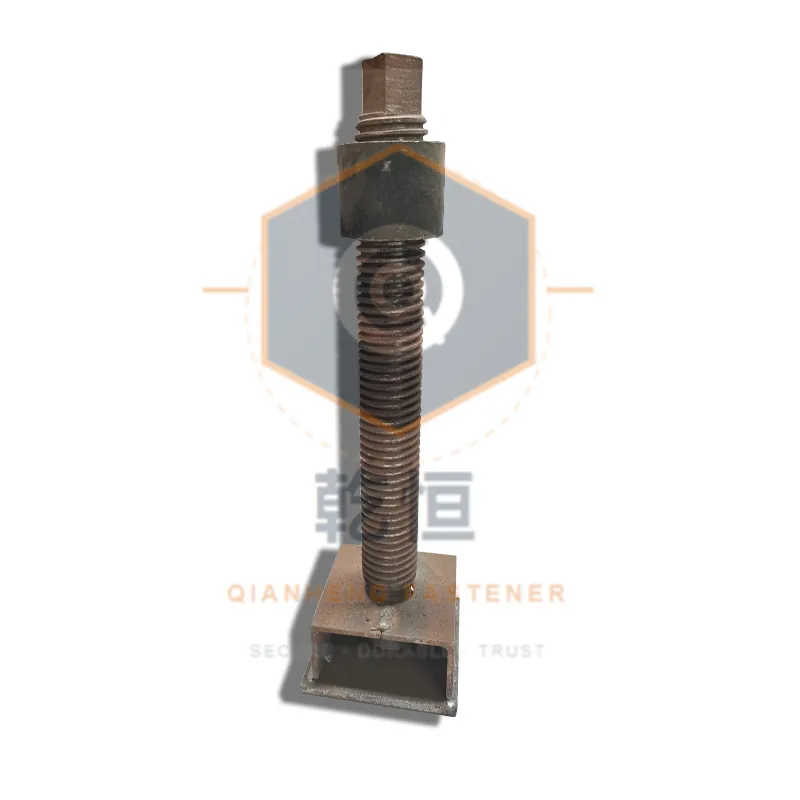
An adjustable steel prop is a vertical strut with a threaded inner tube, a base plate and a head plate that supports the primary beam. Its rated safe working load is published for a reference condition, and the important procurement fact is that the rating is not constant: as the inner tube is extended, the buckling length grows and the usable capacity falls. A prop that is comfortable at a 2 m extension may be inadequate at a 3500 mm extension on the identical load.
This makes the soffit height a procurement input rather than a site detail. A 2800 mm residential soffit is served by standard props, a 5 m soffit needs stacked or frame props with a design, and a 10 m soffit pushes the job into post-shoring or a proprietary system. The most costly mistake on a slab package is a prop that is one class below the requirement at the extension the crew actually uses, because the failure is silent until the pour is loaded.
Props are also the component with the highest loss and damage rate. A dropped base plate, a bent thread or a seized nut removes a prop from service even when the tube is intact, so the prop count is ordered with a working margin and tracked through the inventory and recovery loop. Where props support a slab that also carries H20 beam clamps and primary beams, keeping the prop set complete per bay is what allows the grid to be reset without improvising.
Standard basis: EN 13670
4. Primary and secondary beams: spacing from thickness.
The falsework grid has two beam levels, and both are sized from the slab thickness. Secondary beams, also called ledger beams, sit directly under the plywood and span between the primary beams, and primary beams sit across the prop heads and carry the secondary beam reactions. The H20 timber beam load path article explains how the load travels from the soffit surface through both beam levels into the props, and that load path is what fixes the two spacings.
A thicker slab increases the dead load per square metre, and the response is either to tighten the secondary beam spacing or to step up to a deeper beam. A 200 mm slab on 21 mm plywood is commonly served by secondary beams at 400 to 600 mm centres and primary beams at 1200 mm centres, whereas a 300 mm slab needs a tighter spacing or a deeper beam. Neither adjustment is arbitrary; both are load calculations against the falsework design standard.
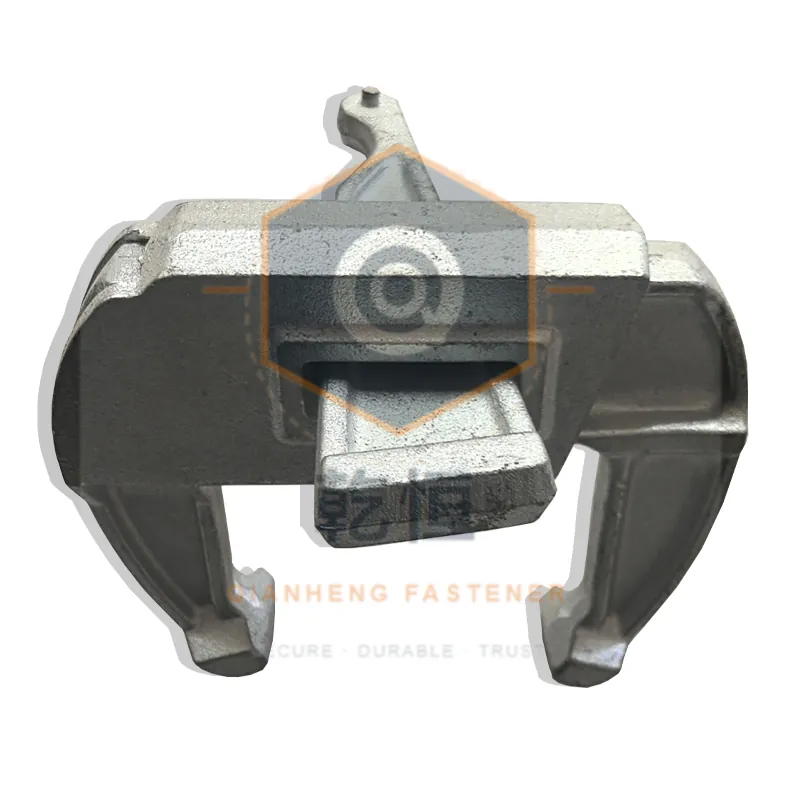
The connectors between the beam levels are a genuine procurement line rather than trim. A claw or wedge connector that grips the H20 beam to the primary beam is a minor component with an elevated loss rate, and a missing connector means the beam is not properly supported even though the grid looks complete. Order them with the beams and count them per connection rather than per bay, because the connection count is what actually drives the quantity.
Standard basis: EN 13163
5. Soffit boards: the film-faced plywood line.
The soffit surface is normally film-faced plywood, and the procurement decision is not the sheet price but the cost per square metre per pour. A film-faced sheet typically delivers ten to thirty uses when it is protected with release agent and stripped carefully, and the average is destroyed faster by bad stripping than by the concrete. Delamination at the surface, water ingress at the edges and a warped sheet that loads its neighbours are the three failure modes that shorten a set.
Board thickness follows the secondary beam spacing, not the slab thickness directly, because the board is a bending member spanning between those beams. A 21 mm sheet suits the tighter spacings, and a wider spacing demands a thicker board or an extra beam. Where a slab edge or a column junction interrupts the grid, trimmed boards and a packing strip are needed, and those offcuts are the second largest consumable after the boards themselves.
Edge conditions are the most commonly under-counted line on a slab BOM. A slab that abuts a wall, a column or a lift requires a stop-end, a formwork face and, where the wall is cast earlier, an anchor connection back into the existing structure. The column tie layout and the panel layout articles cover those junctions, and the slab BOM has to carry the same hardware rather than assume the wall crew supplies it.
6. Striking and back-propping.
The striking schedule is a procurement decision because it determines how long the shoring has to stay on site. A soffit may only be struck when the slab has reached the strength the design assumes, which is why the curing and striking time article and the falsework design have to be read together. Striking early to release props for the subsequent bay is the most expensive saving on a slab package, because it converts a falsework question into a structural one.
Back-propping is the mechanism that lets a site strike the original falsework before the slab reaches full design strength. The slab is left supported on a second, sparser prop set that carries the load from the pour above it, and that second set is a real purchase or rental line. A project that plans its prop quantity around a single pour discovers it needs a second set on site for longer than the first, which raises the peak inventory and the storage footprint.
The procurement number that follows from this is the peak prop requirement rather than the installed prop requirement. A ten-floor plate that back-props through two levels holds three times the props of a single floor on site, and that figure belongs on the purchase order alongside the unit price. It is also the number that determines whether the props are bought or rented, and the cost structure article shows how the turn count settles that question.
7. Worked example: a 200 mm slab bay.
Consider a 200 mm flat slab over a 6 m by 6 m bay with a 2800 mm soffit, falsework from adjustable props and H20 primary and secondary beams.
The dead load is approximately 5 kN per square metre including the wet concrete, the formwork and a construction allowance. The grid is set at 1200 mm primary centres and 500 mm secondary centres, which is the configuration the falsework design accepts at this thickness.
The 6 m bay therefore takes five primary beam lines and a 1200 mm prop grid across the bay, which gives six prop positions per line. The secondary beams span the 1200 mm between prop lines at 500 mm centres, so twelve runs cover the bay. Every quantity below follows from that single grid, which is what makes the example scalable to a full floor plate.
| BOM line | Basis | Quantity |
|---|---|---|
| Adjustable props | 1200 mm grid on 6 m bay | 30 props |
| Primary H20 beams | one per 1200 mm line | 5 runs |
| Secondary H20 beams | one per 500 mm line | 12 runs |
| Beam connectors | 2 per crossing | 60 connectors |
| Soffit plywood 21 mm | 36 m2 plus trim | 8 sheets |
| Base and head plates | one pair per prop | 30 pairs |
| Back-props (2 floors held) | sparser re-shore grid | 12 props |
The table is the grid's core: a 12 m bay takes the prop positions to 12 per line, the props to 60 and the primary runs to 10, with no new assumption. The tie quantity takeoff method applies the same discipline to the wall side of the same structure, and the complete procurement guide carries both into specification and supplier comparison.
8. Cost per pour: amortisation across turns.
A slab system is not bought for one pour; it is bought for a turn count. The timber soffit has a low first cost and a high labour content, so its economics are driven by how many times the beams and boards survive and how quickly a crew can reset a bay. The table form has a high first cost and a low labour content, so its economics are driven by cycle time on a repeating plate.
The comparison that matters is cost per square metre per pour, not capital. A beam set that costs three times as much and survives five times as long is the cheaper buy, and the identical arithmetic applies to plywood, connectors and props. The break-even for a table form is conventionally expressed in identical bays, and on a ten-bay residential plate the cycle saving typically repays the capital, while a one-off or irregular slab never does.
Reuse also depends on the recovery programme rather than on the purchase decision. A prop set that returns to a marked bay, is cleaned, greased and counted is worth more at the tenth pour than the same set returned to a pile on the slab edge. The verification methodology behind that difference is straightforward: count the returns, record the failures, and amortise over the turns actually achieved rather than the turns a catalogue promises. The inventory and recovery loop and the accessory and consumable rules apply to slab falsework exactly as they apply to wall hardware.
9. Slab mistakes that inflate the BOM.
The first mistake is sizing the props from the slab area instead of the grid, which produces a prop count that looks adequate on paper and fails at the extension the crew actually uses. The second is ignoring the soffit height, because a 5 m soffit needs stacked or frame props rather than a longer standard prop. The third is planning a single prop set when the striking schedule requires back-props, which leaves the site short at exactly the moment the subsequent bay is ready.
The fourth is counting boards but not connectors, because a falsework grid assembled without the correct connector count is not a designed grid, and the missing connectors are discovered during the pour rather than before it. The fifth is buying the table form for an irregular slab, which pays a capital premium for a cycle saving that never arrives.
A short falsework discipline keeps the slab purchase order from inflating:
- Set the prop grid from slab thickness and bay geometry before any prop class is selected.
- Confirm the soffit height against the prop extension rating, and carry connectors per connection rather than per bay.
- Plan the striking schedule with a back-prop quantity, and amortise beams, boards and props over turns rather than first cost.
Site falsework practice follows standards such as OSHA 29 CFR 1926.703 in the United States, EN 12812 for falsework design and EN 13670 for concrete execution in Europe. The EU Construction Products Regulation establishes the baseline against which the slab falsework components are declared.
About us: Qianheng Formwork Fastener Factory manufactures D15 and D20 tie rods to Q235, Q345, 45# and QT450 and supplies adjustable steel props, H20 beam clamps, waling and the complete accessory set that appears on a slab falsework BOM. Inventory is approximately 300 t and inventory items ship within three days, so a falsework change late in the programme can still be satisfied without a custom run. Our contact page carries the specification sheet and the current lead-time table, and the about page describes the factory and the quality system behind every line on the BOM, and this article was reviewed by the Qianheng Formwork Engineering team.