
A five-section water stop tie rod is the simplest thing on a formwork order and one of the easiest to install wrongly. There are three sections, two of them removable, and a plate in the middle that stays in the concrete for the life of the building. That middle part is the whole point of the product: everything else is scaffolding around a component whose job is to sit at mid-wall and never move.
Most installation problems are not exotic. They are a plate that is off-centre because the rod was cut to a rounded length, a cone that did not seat, a rod loosened too early, or a site that ran out of cones three walls before the pour. None of those are exotic, and all of them are decided in the order rather than on site.
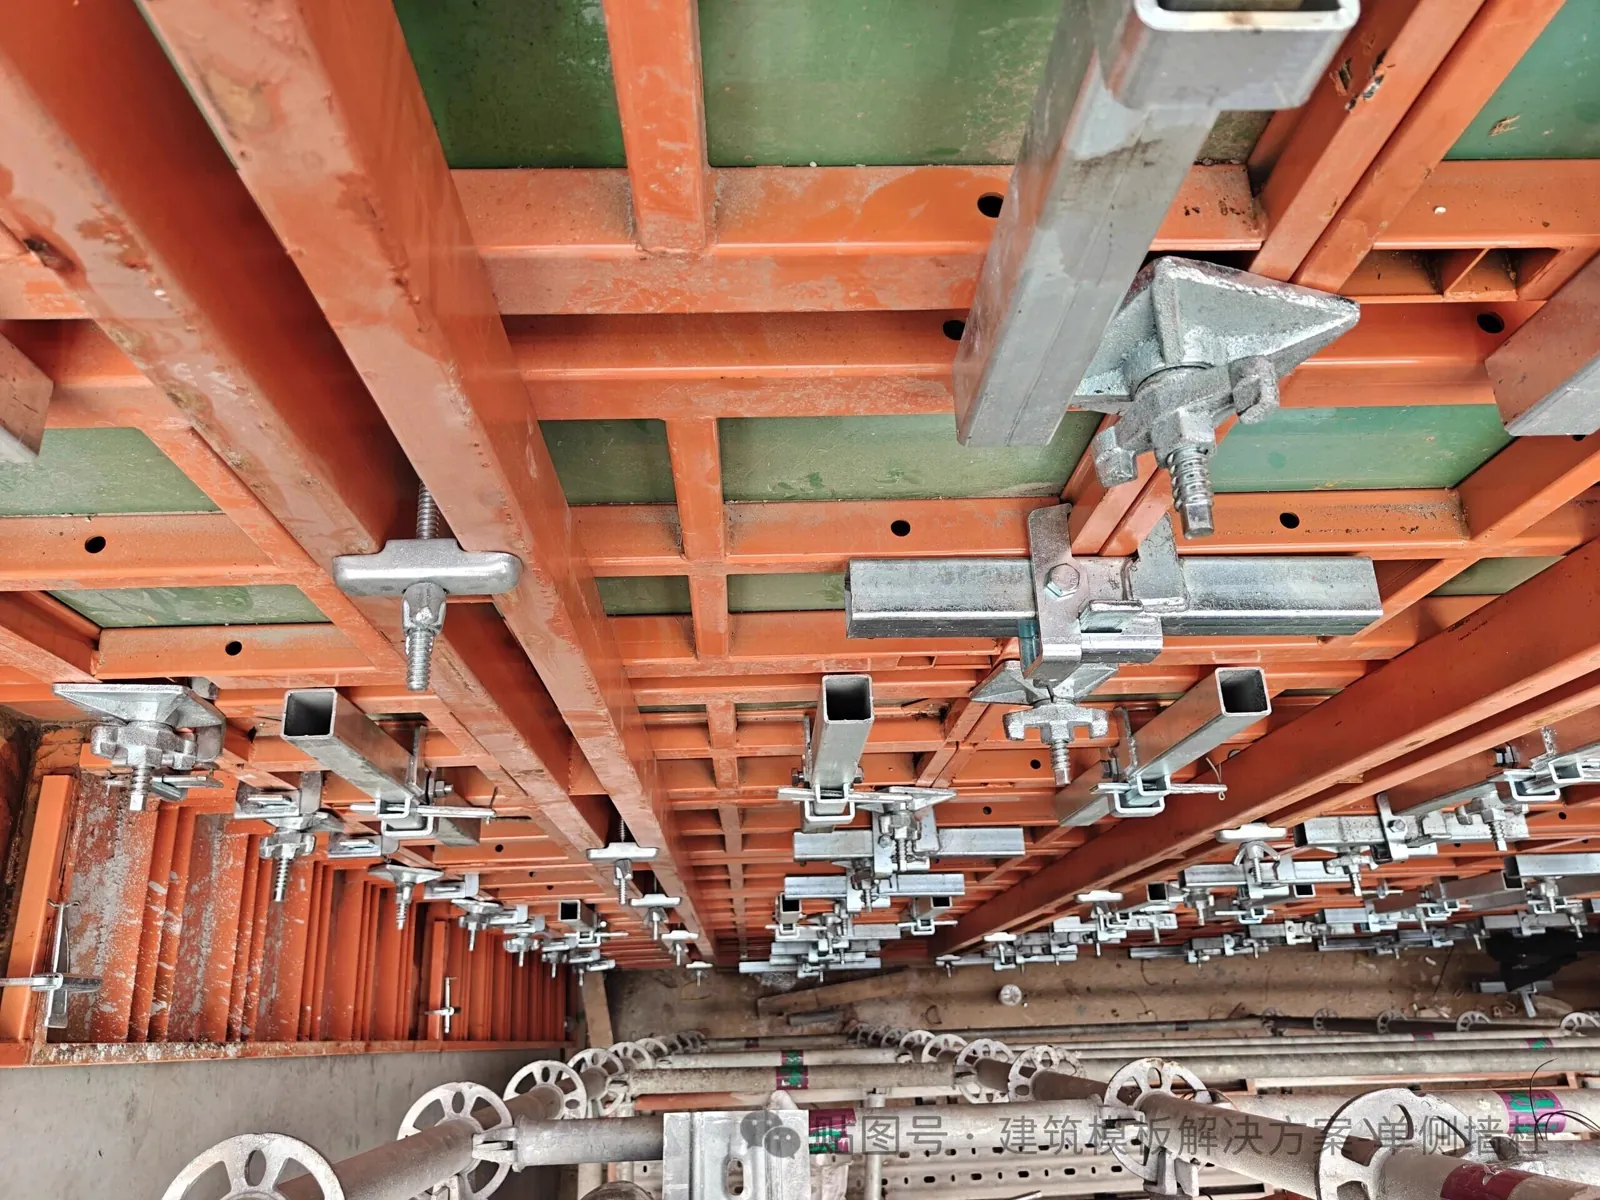
The three checks above are worth doing with a tape measure, not by eye. The whole sequence that follows assumes they were done and passed, because each stage removes the option to correct the one before it.
The five sections, and which ones you get back
Naming conventions differ between suppliers, so the useful thing is to know which physical part is which. A five-section rod assembles into:
- Inner rod — carries the water stop plate at mid-wall. It stays in the concrete permanently. Usually a plain or lightly-threaded length with the plate welded at its centre.
- Water stop plate — a welded plate or cone-shaped disc that interrupts the capillary path along the rod. This is the part that does the waterproofing.
- Two external rods — threaded on both ends, pass through the shutters and bear against the plates and nuts. These are removed after striking and reused.
- Connecting sleeve or nut — joins the inner rod to each external rod. Determines whether the connection is cone-type or sleeve-type.
- Cone and hardware — the plastic cone forms the recess in the wall face, plus the bearing plate, washer and wing or disc nut on the outer side.
Everything except items 1 and 2 comes back to the yard. That ratio — two reusable items to two consumable ones per hole — is the number that drives both the cost and the inventory discussion covered in accessories and consumables.
The important commercial point: because the inner rod is sacrificial, the reusable fraction of the system is what a rental fleet actually manages, and it is not 100%. Suppliers who quote per set rather than per consumable item tend to obscure this.
Stage 1 — Ground assembly, while the shutters are still open
The rod is assembled at ground level and then lifted into position, or fixed to the open shutter before it is closed. This is the last point at which the plate position can be set.
The plate must sit at the centre of the wall. Getting there needs one number that is usually missing from the order: the finished wall thickness. Rod length is derived from it — the inner rod is cut to roughly the wall thickness, the external rods carry the remaining length plus the shutter and clearance. Without a stated thickness, a site either over-orders and cuts, or orders to a nominal length and finds the plate sitting off-centre in a wall whose thickness varies along its length.
For walls that vary in thickness along their length — stepped basement walls, inclined retaining structures — a single rod length does not work. This is worth flagging in the order as a separate line with its own schedule, not as an assumption that all walls are equal. The same issue is treated in single-sided formwork principles where wall geometry is not uniform either.
Two things to settle before assembly starts:
- Plate thickness and fixing method. A plate that is spot-welded will not perform like one that is welded all round. The plate needs to interrupt the water path continuously; a discontinuous weld is a leak path with extra steps. The material comparison is in cast iron water stop nut vs welded plate.
- Cone type. Cone-type connections are the most common on site because they self-align and need no sleeve to thread. A cone-type connection has its own accuracy requirement, which is that the rod ends are clean and undamaged, because the cone has to seat fully to transfer load; a sleeve-type connection tolerates a slightly damaged end because the sleeve bears on the thread rather than on a seating face. The choice is a property of the connection, not a preference, and it determines how the site crew prepares rod ends.
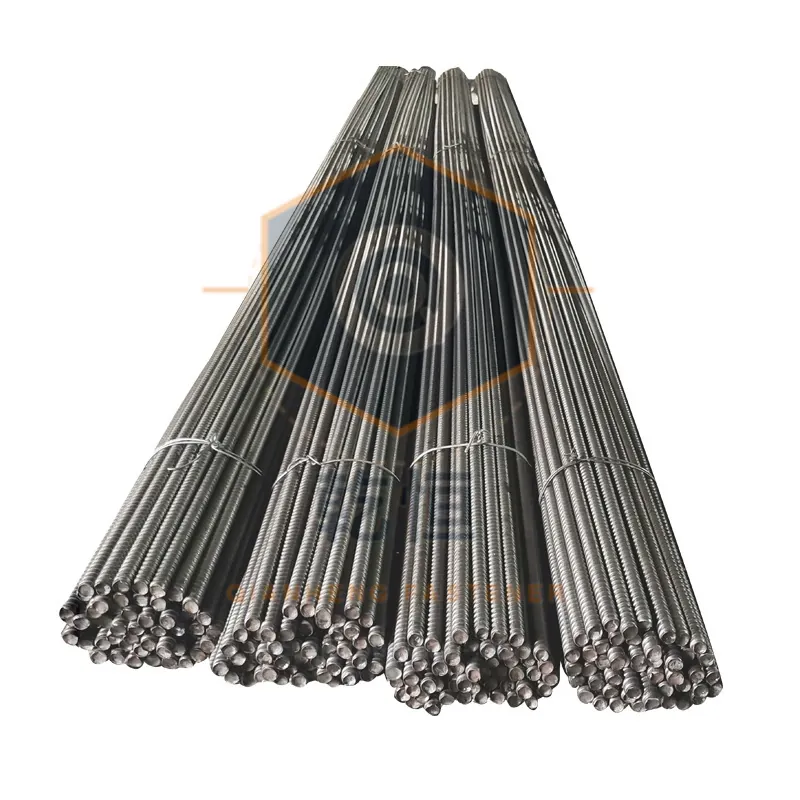
Stage 2 — Shuttering, and the check that must happen now
With the inner rod and plate fixed, the shutters close and the external rods go through. Before the pour, three things are checked, and all three are cheap to check now and expensive to find later.
Plate centring. Look at the wall thickness at the rod. If the plate is visibly off-centre, it is wrong. There is no repair that substitutes for moving it before the concrete is placed.
Cone seating. The cone must sit square and fully home. A cone that is not seated produces a wall hole that is not concentric with the rod, and sealing a non-concentric hole properly is significantly harder than sealing a concentric one.
Nut run. The nut should run onto the rod by hand for the first few threads. If it needs a wrench from the start, the nut and the rod are mismatched — a tolerance or grade problem that will affect every hole of that batch. Thread dimensions and tolerance classes are set out in ISO 898-1 and ISO 68-1, which is where the nut fit class on a purchase order ultimately comes from.
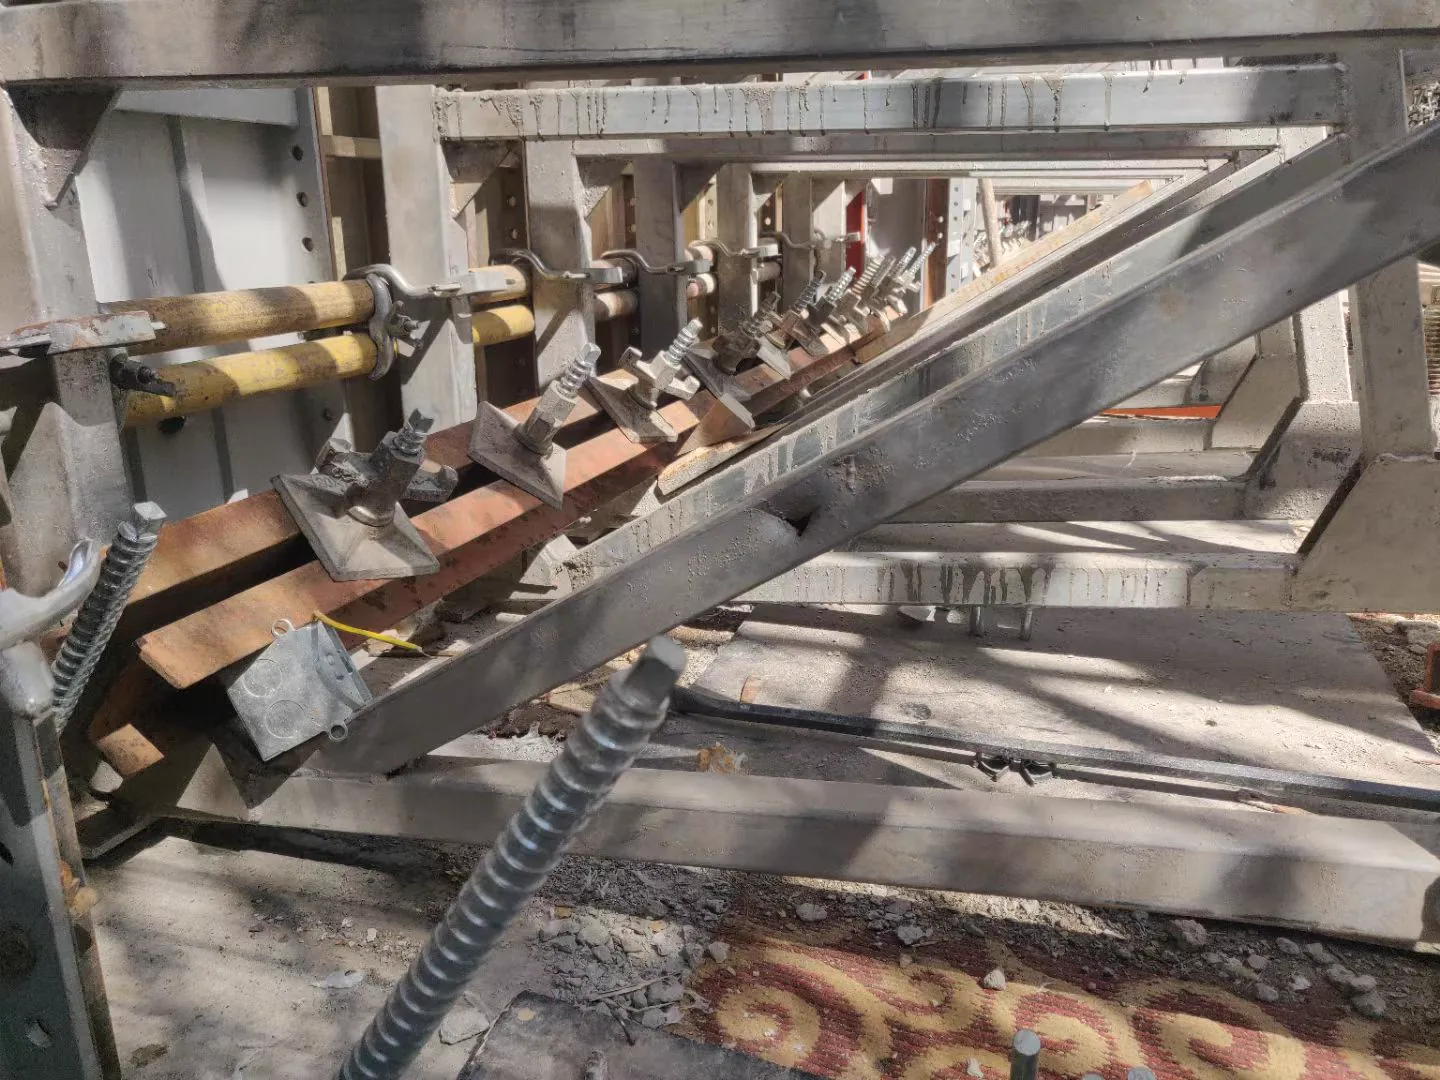
The three checks are summarised in the order they happen:
| Check | When | What a failure means |
|---|---|---|
| Plate centring | Before closing shutters | Rod length or wall thickness wrong; plate cannot be moved later |
| Cone seating | Before closing shutters | Recess will not be concentric; sealing is harder and the wall face is marked |
| Nut run | Before pour | Nut and rod mismatched; affects the whole batch, not one hole |
All three are cheap now. None of them is recoverable after the pour without breaking the wall.
The lateral pressure the system will carry is set out in concrete lateral pressure and tie spacing, and the capacity of the rod itself is covered in D15 safe working load. Both need to be settled before the pour, not after.
Stage 3 — Pouring, and what the cone is doing
Concrete is placed and the rod takes load. During the pour and the early cure the formwork carries most of the pressure and the tie rod system is the reserve path.
The cone is now embedded and is doing something specific: it forms a clean recess for the external rod to sit in during striking. In a wall with no cone, the rod is grouted into the concrete face and has to be chiselled out, which damages the wall and takes labour. With the cone, the rod simply screws out. That difference is the labour saving the system exists to deliver, and it is why a loose cone is a real defect rather than a cosmetic one.
Two stage-3 items are routinely missed:
- Vibration. Internal vibration must not be run against the tie rod heads or the cone seats. Movement at the plate is the one thing that will not be recoverable.
- Re-tightening. On long walls or walls poured in layers, re-tightening during the pour is a controlled step, not an ad-hoc one. The criteria and the limits are in re-tightening tie rods during concrete pour.
Stage 4 — Striking: when the external rods can come off
The external rods are loosened and removed once the concrete has enough strength to take the lateral load the shutters were carrying. The criterion is a strength condition, not a date. Mix, ambient temperature and cement type all move it, and a habit-based rule either loosens too early — transferring load onto the tie rods while the concrete is still green — or waits too long.
Getting this wrong in the late direction has a second consequence: if the rod has to be cut out rather than unscrewed, the cone has not done its job and the wall face is damaged.
The order of removal is also worth stating: the cone is knocked out, the recess is cleaned, and the face is patched. This is where the water stop becomes permanent — the inner rod and plate are now the only thing sealing that path. Any post-pour defect at that hole is a defect in a waterproofing element that cannot be reached without breaking the wall.
Stage 5 — Patching the recess, and the record that closes it
The recess left by the cone is filled and finished. This is a cosmetic step on a structural one, and it is the step most often left undocumented.
For a project with any waterproofing obligation — a basement, a tank, a retaining structure, a potable water structure — the number and location of patched tie holes is part of the handover record. A wall with a recorded map of tie holes and their patches can be inspected or tested. A wall without one can only be assessed by appearance.
Buyers who intend to hold the supplier to a warranty on this system should ask for what makes the warranty usable: a lot or batch reference on the marking, so a questioned wall can be traced to a production run. Marking is covered in batch test reports and mill certificates.
The four items to fix in the order
Most of what makes this sequence repeatable is decided before the first wall is cast. Four items do most of the work:
- Wall thickness schedule, and the rule for deriving rod length from it, including any walls that vary along their length.
- Water stop plate specification — thickness, material, and whether the weld is continuous around it.
- Connection type — cone or sleeve — fixed once for the project, with the cone type and whether it is supplied stated separately.
- Packing unit and supply rate for consumables — so that a return can be counted against what went out, and so the site is not improvising cones three walls from the pour.
Items 1 and 2 are structural and cannot be changed once concrete is placed. Items 3 and 4 are commercial, and getting them wrong costs time and money rather than the wall. Stating all four costs nothing at order stage.
What this sequence does not decide
Two things are deliberately outside this article. How the plates and walers behind the shutter are sized and spliced is covered in steel waler systems and section splices. How a tie rod should be specified on the purchase order — grades, tolerances, coating, marking and acceptance criteria — is covered in fastener procurement specification.
What remains here is the sequence, and the point that most of it is fixed before the first pour.