
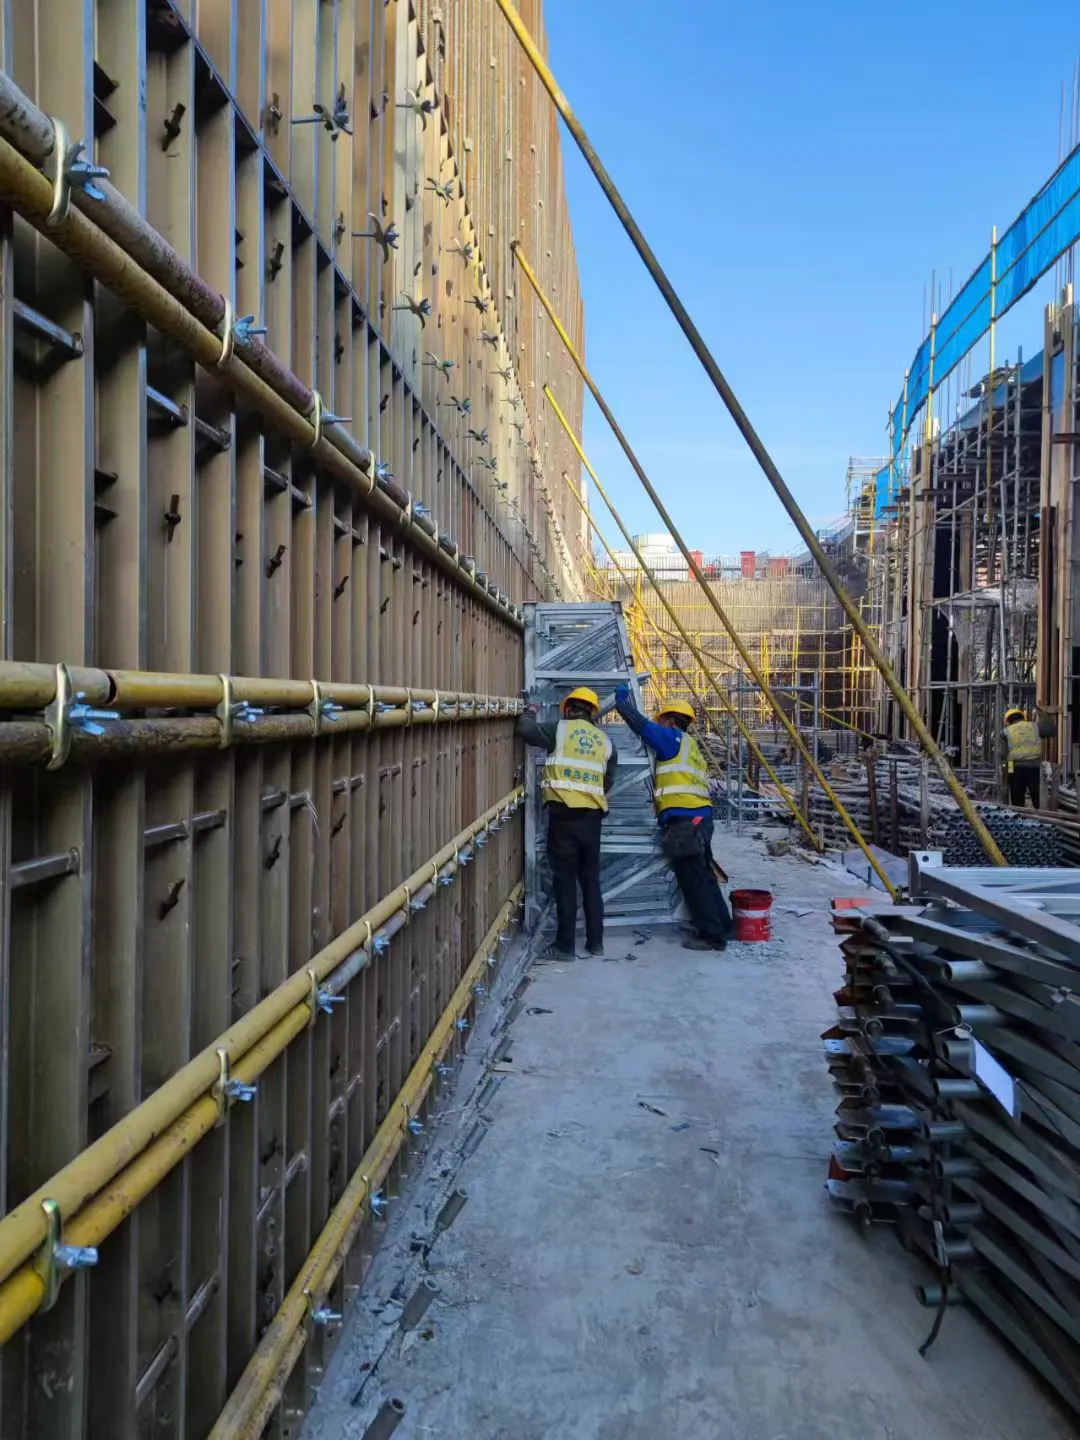
Formwork failures almost always trace back to an underestimated lateral pressure, and tie spacing is where that estimate becomes hardware. The calculation is not optional and it is not a constant.
What drives lateral pressure
Fresh concrete behaves as a fluid while it is placed and compacted, then begins to set. The governing variables are unit weight (about 24 kN/m³ for normal-weight concrete), pour rate in metres of height per hour, concrete temperature, cement type and admixtures, and the vibration method.
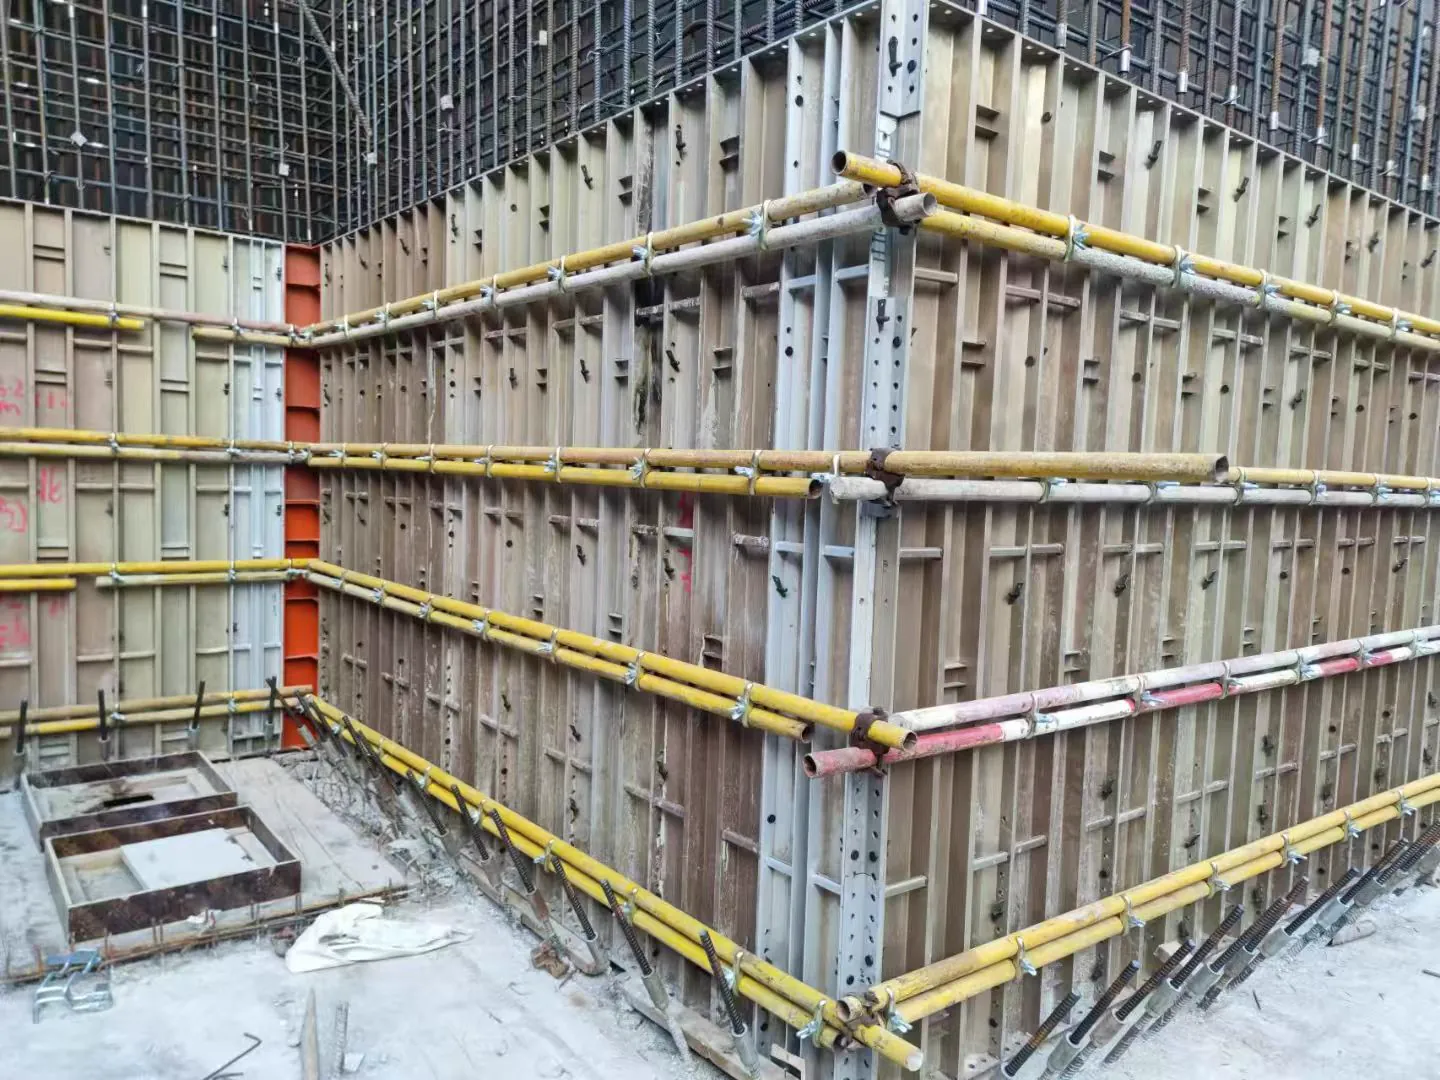
Faster pours and colder concrete produce higher pressure, because the lower layer has not gained strength before more material is placed on top. Retarded mixes behave the same way.
The two regimes
BELOW A HYDROSTATIC HEIGHT: pressure rises linearly with depth and equals full hydrostatic value — the concrete there is still fluid.
ABOVE IT: the lower concrete has begun to set and carries part of the load, so the curve flattens and pressure grows only slowly with further height.
Standard methods (ACI 347, DIN 18218 and equivalents) express this as pressure versus pour rate at a given temperature, usually with a chart plus a formula. DIN 18218 is widely used internationally and gives limiting values for self-compacting concrete, which behaves close to full hydrostatic and is the case most often underestimated.
A worked sequence
Take a 4.5 m wall poured at 2 m per hour at 15 °C, normal-weight concrete, internal vibrators.
- Determine the hydrostatic-equivalent height from the code chart — for this case, commonly 2.0-2.5 m.
- Apply unit weight: 24 kN/m³ × 2.2 m ≈ 53 kN/m² design lateral pressure in the lower zone.
- Apply the placement and vibration factor required by the code (commonly 1.1-1.3).
- Convert to tie load: pressure × tributary area per tie. With ties at 0.8 m × 0.8 m, tributary area is 0.64 m², so each tie carries roughly 34 kN before the factor.
- Compare with the rated capacity of the rod and keep the working load under the code safety factor. For a DW15 class 8.8 rod in the 90-150 kN permitted range, 34 kN is comfortable; the same tie at 0.5 m spacing on a fast, cold pour moves out of that comfort zone quickly.
Practical rules that prevent surprises
Tighter spacing at the bottom, wider at the top: the pressure profile is not uniform, so uniform spacing wastes capacity above and overloads below.
Increase margin for: pour rates above 2 m/h, concrete below 10 °C, self-compacting mixes, long-poker vibration, and thick walls.
Do not reuse last project's rate. A mix change, a colder morning or a new pump crew moves the numbers.
Check panel and waler capacity, not only the tie. A correctly rated tie on an under-designed waler still fails at the waler.
Treat the tie as tension and the waler as a beam. Most reported blowouts are waler or panel failures that a tie rating masked.
Documentation
Keep the pressure calculation, tie spacing drawing, tie capacity certificate and pour rate record together. When something moves during a pour, the first question is always which of those four numbers was wrong.