
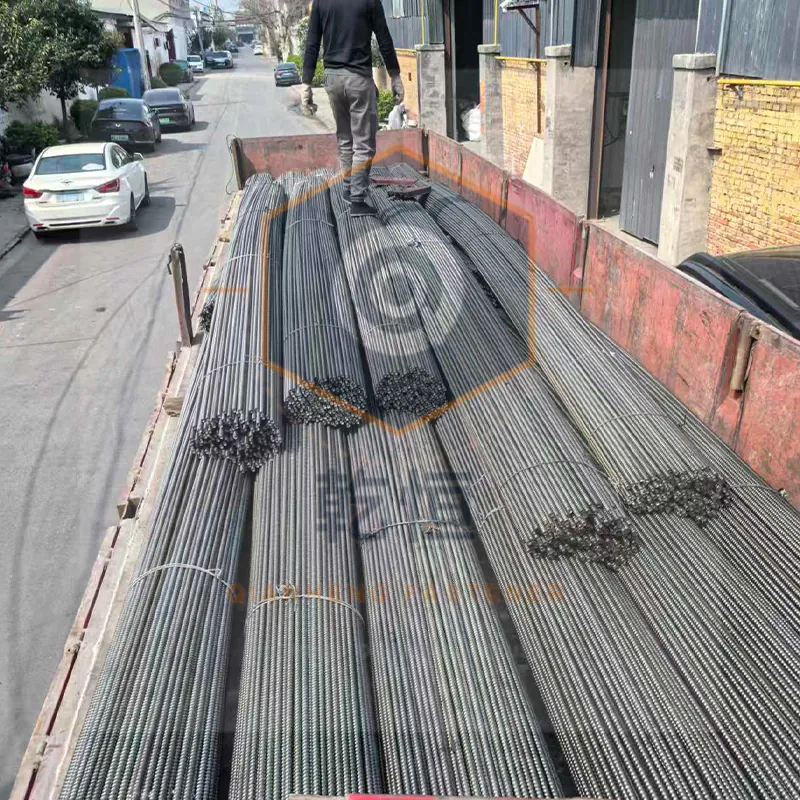
D15 and D20 dominate formwork practice, and the choice is usually made from habit rather than calculation. Oversizing wastes money and can create its own problems at the panel.
Capacity difference in practice
The stress area of a D15 rod is about 176 mm², and an Rd20 about 314 mm² — roughly 1.8 times the section. At the same class, the allowable tension scales with that ratio: if a D15 class 8.8 rod is certified in the 90-150 kN band, an Rd20 in the same class lands around 230-260 kN.
The useful rule: one D20 replaces roughly two D15 ties in capacity, so switching diameter changes the number of tie positions, not just the size of each one.
When D15 is the right answer
Walls up to about 3.5-4 m with normal pour rates, where tie spacing of 0.6-0.8 m is practical. Panels with existing tie holes sized for D15. Projects where the wall thickness limits the cone and sleeve envelope. Reusable systems where the rod cost per cycle matters more than peak capacity.
When D20 earns its cost
Thick walls where the pressure at the bottom zone is high. Fast pours or cold concrete, both of which raise lateral pressure. Single-sided formwork, where tie spacing is often dictated by the existing wall and cannot be tightened. Heavy slab and bridge formwork where fewer, stronger ties reduce congestion.
The factors people forget
WALL THICKNESS AND COVER: the cone and sleeve assembly for a larger diameter occupies more of the wall section. On a 200 mm wall with 40 mm cover each side, the remaining envelope may not accept a D20 cone.
PANEL COMPATIBILITY: tie holes, washers and clamps are diameter-specific. Changing diameter mid-project can mean changing hardware across the fleet.
HANDLING: a longer, thicker rod is heavier, and site crews notice. Above about 4 m, D20 rods are a two-person lift and the productivity loss can outweigh the material saving.
REUSE AND DAMAGE: thicker rods are more tolerant of nicks and handling damage; a D15 rod with 0.5 mm of thread damage has lost a larger proportion of its section.
A workable decision sequence
- Take the design pressure at the base of the pour and the tributary area you can physically achieve with the panel layout.
- Calculate the required tension per tie, apply the code safety factor, and compare with certified capacities for both diameters.
- Check the wall thickness and cover against the cone envelope for the larger option.
- Confirm hardware compatibility across the fleet.
- Compare total cost per square metre of wall formed, including rods, cones, nuts and reuse cycles — not price per rod.
Mixed systems
Using D15 in the upper zones and D20 in the lower zone of a tall wall is common and legitimate, because pressure falls with height. It requires clear marking on the layout drawing, or a crew will fit whichever rod is nearest.