
Утечка раствора в стыках опалубки: причины и борьба
> In brief > - Grout loss is a joint problem, not a concrete problem. > - There are four places it happens, and three of them are at the edges, not the middle. > - Clamp spacing closes a joint; over-tightening ties opens one. > - The cost of a joint seal is measured in minutes. The cost of honeycomb is measured in scaffolding.
Every honeycomb patch on a finished wall started as a gap somebody looked at and judged acceptable. The judgement is usually made dry, in daylight, before the pour, on a joint that looks tight — and it is made by eye, because there is no other instrument on site for it.
That is the whole problem in one sentence: grout loss is a visual defect caused by a dimensional condition that nobody measures.
Our production and test data are available on request — see how our factory works and contact the engineering team for the drawings and tolerances behind any figure quoted here.
Grout loss is the escape of cement paste and fines from the formwork while the concrete is still plastic, leaving the coarse aggregate behind. Honeycomb is the resulting void structure where the paste did not fill between aggregate particles. Colour banding is the darker or lighter stripe left where water and fines escaped along a joint, visible on fair-faced concrete after striking. Blowhole is air trapped against the form face, which is a different defect with a different cause.
The four places a joint leaks
Site investigation of a leaking wall usually finds more than one, and fixing only the obvious one is why the second pour repeats the first.
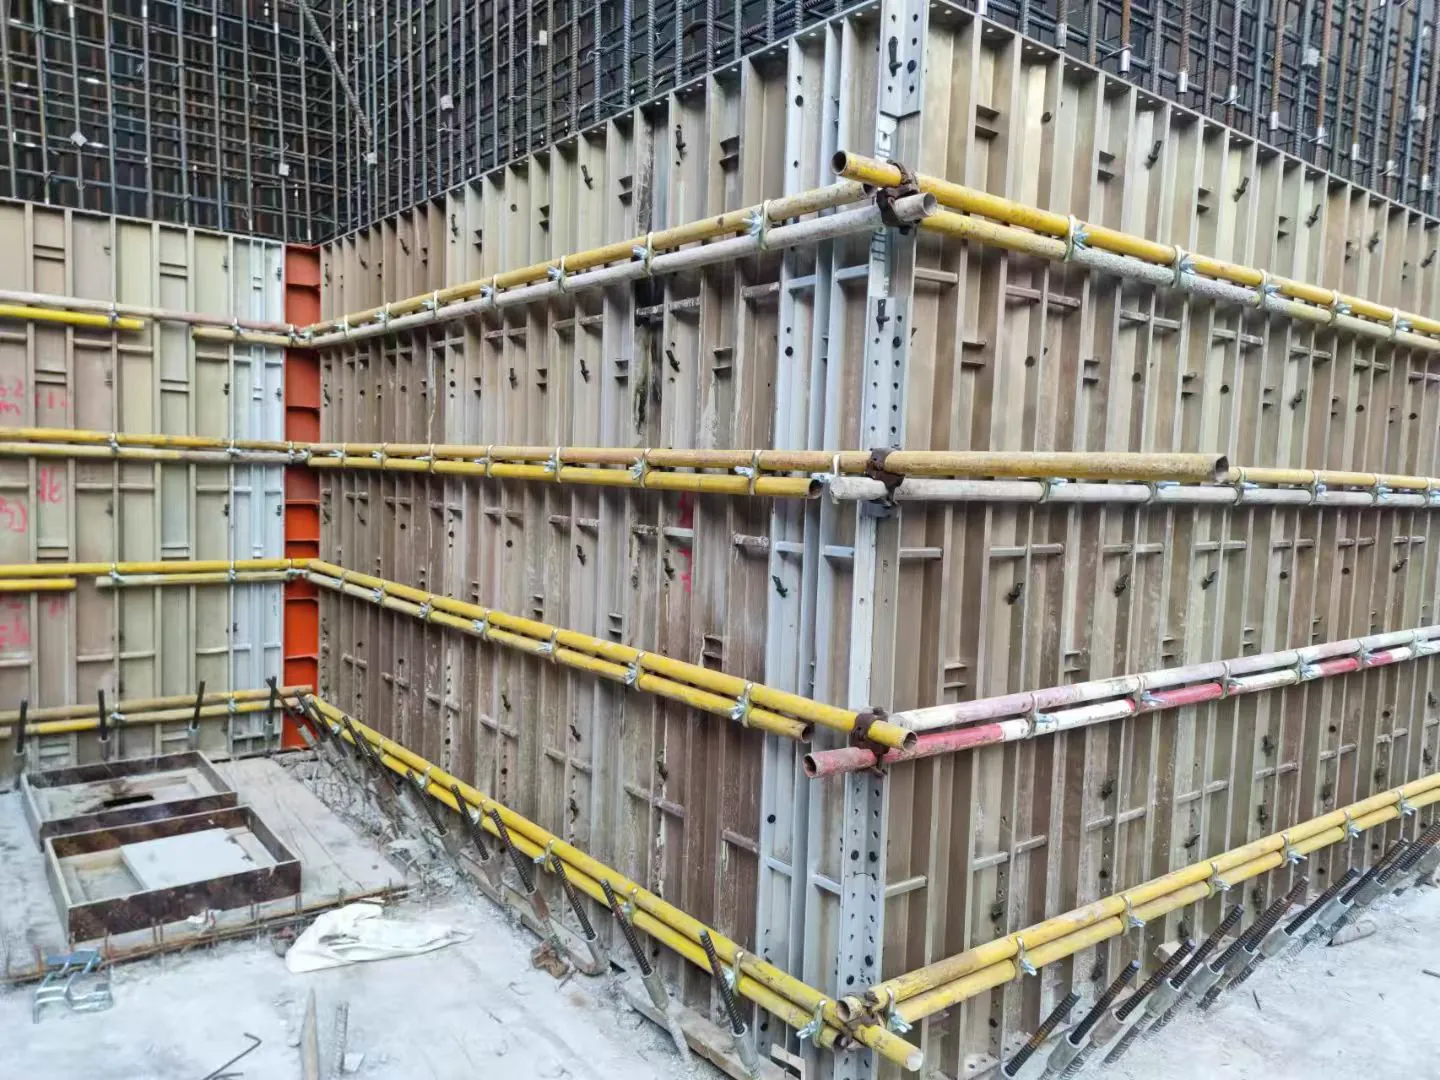
- The panel-to-panel vertical joint. Two panel edges clamped together. Leaks when the edges are not straight, when the clamp spacing is too wide for the pressure at that height, or when the clamp pulls the faces together but leaves a gap at the back edge.
- The corner. The hardest joint on the wall, because two panels meet at an angle and the sealing line changes direction. Pressure concentrates here, and the corner is also where the panel edges are most likely to be out of tolerance from previous use.
- The panel-to-slab base joint. The one that produces most honeycomb. A slab is never flat, the gap varies along the wall, and mortar runs out under the panel the moment vibration starts.
- The tie rod hole. Often overlooked. If the cone or sleeve does not seal against the panel face, paste escapes around the rod, and the result is a ring of honeycomb around a tie hole that is visible for the life of the wall.
Three of the four are at edges. That is worth stating plainly, because the instinct on site is to look at the panel face, and the panel face is not where the problem is.
Why clamp spacing matters more than tie torque
A formwork panel under concrete pressure behaves like a plate supported at its edges and at its ties. The pressure pushes the face out, the edges are held by clamps, and between two clamps the edge deflects. Deflection is what opens the joint.
Tie rods and clamps do different jobs, and confusing them is the source of the over-tightening habit:
- Tie rods carry the concrete pressure across the wall. They hold the two faces at a fixed distance.
- Clamps and connectors hold adjacent panels in the same plane, so that the joint does not open as a step or a gap.
- Edge seals fill whatever residual gap the first two leave.
Tightening a tie harder does nothing for the joint between two panels, because the tie is not what holds that joint. Past the point where the panel starts to bow, it actively opens the joint at mid-span. The correct sequence is: check panel edge straightness, set clamp spacing from the pressure at that height, then seal.
| Defect seen after striking | Usual joint cause | What to change next pour |
|---|---|---|
| Honeycomb along the base | Gap under panel on uneven slab | Mortar fillet or compressible seal before panels |
| Vertical stripe of honeycomb | Panel-to-panel joint, clamp spacing too wide | Halve clamp spacing at the lower third |
| Honeycomb at the corner | Corner seal line broken or panel edge worn | Corner angle piece plus seal, not seal alone |
| Ring of voids around tie hole | Cone or sleeve not seated on the face | Check cone seating, replace worn cones |
| Colour banding, no voids | Paste escaped and water followed | Seal the joint; banding means loss even when the face looks sound |
The last row is the one that gets argued about. Colour banding is grout loss that did not leave a visible void, and on architectural concrete it is a rejection criterion on its own.
Sealing: three approaches and when each is right
There is no single correct seal. What there is, is a correct seal for each location.
Compressible foam or rubber strip on the panel edge. Works on vertical panel joints where the gap is small and consistent. Compresses to fill variation, and survives several reuse cycles if it is the closed-cell type. Fails when the gap is larger than the strip can expand to, which is common on worn panels.
Mortar fillet at the base. A small fillet placed on the slab against the panel line before the panel goes down, allowed to stiffen. This is the standard answer for the base joint and it is cheap. It requires the fillet to be placed before the panel, which means it is the step that gets skipped when the crew is behind.
Corner and angle pieces at changes of direction, rather than relying on the seal alone. A seal strip bent around a 90-degree corner is stretched on the outside and compressed on the inside, and neither is at its working condition. A purpose-made corner piece keeps the seal line in one plane.
For fair-faced work, add one more: seal the tie holes properly, because a tie hole leak produces a defect ring that no amount of surface repair hides.
The pre-pour check that actually prevents it
Five minutes with a torch, on the outside of the formwork, after the panels are closed and before the pump starts. Look for light through the joints — a joint that shows light will pass paste. Then check the four locations in order:
- Base joint: is there a fillet, and is it continuous around the wall? Gaps at the ends are common.
- Vertical joints: any joint where the clamp spacing is visibly wider than its neighbours.
- Corners: is the seal continuous through the corner, or does it stop at each panel edge?
- Tie holes: any cone sitting proud of the face, or any cone that turned while the nut was run down.
This is not a technical inspection. It is a light test and a walk. It costs one person five minutes and it catches the majority of what produces honeycomb.
The hardware side of the same walk — clamp condition, wedge seating, thread damage — is covered in formwork fastener delivery inspection, which is written for the goods-in step rather than the pre-pour step. Both matter, at different times.
What it costs on the other side
A joint that leaks is not a cosmetic issue on a structural wall. Paste is the part of the mix that carries strength, and the paste that left is not there in the cover zone around the reinforcement. That is the reason inspection treats deep honeycomb as a structural question rather than a finishing question, and why the repair procedure usually starts with breaking out to sound concrete rather than filling the surface.
The commercial comparison is stark. A roll of closed-cell seal and an hour of labour against scaffolding, breakout, a patch that shows, and an inspection record on a wall that may be exposed. On a project with an architectural finish requirement, the second option is not a cost — it is a rejection.
If you are selecting clamps and connectors for a wall where the joints will be visible, the steel frame accessories range covers the clamps and connectors, and the TP square washer and plum washer pages cover what sits under the nut. If a joint keeps opening in the same place pour after pour, send us the panel layout and we will look at the clamp spacing against the pressure at that height — the answer is usually in the layout, not in the hardware.